Welcome to my first online tutorial
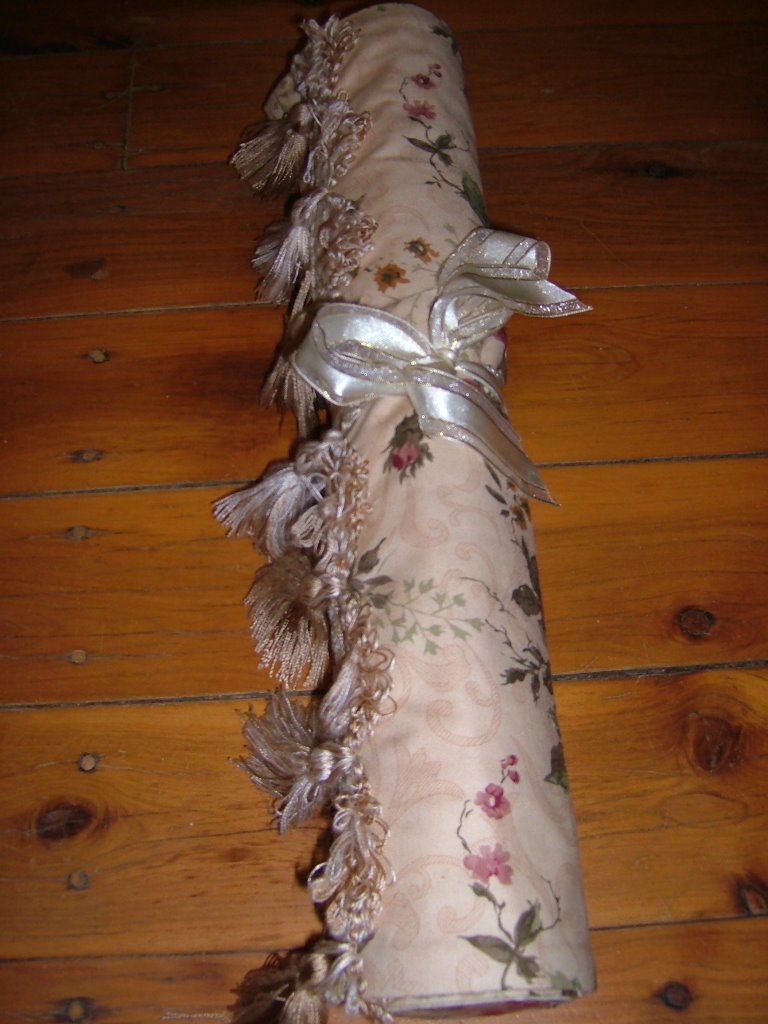
Stitchery Roll
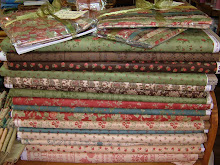
Welcome to my first online tutorial, I have been teaching patchwork and other handy crafts for 17 years but this is a first. Hope you all enjoy the class, feel free to down load it and complete at any time. If you make a stitchery roll please email me with a photo and you can go into the draw to win a fabric pack from the shop, email address is kerry@cottageonthehill.com.au. If you can't send a photo just let me know, competition will be drawn on the 8th October.
A Stitchery Roll is used to store your work in progress - it may be a stitchery block, and applique block or some other form of embroidery or patchwork, simply release the bow and unroll.
From start to finish it should only take maybe 2 hours.
Fabric requirements - 1 x card board roll - mine is from a cling wrap roll. 40cm of Pellon, Main Fabric & Lining, 40cm coordinating braid, 60cm matching ribbon, hot glue gun (or craft glue), cardborad scraps and matching sewing thread and needle and a sewing machine.
My roll measures 13" adjust all measurements to fit your roll. I have added 3/4" seam allowance just a little extra to allowance.
Cut - main fabric, lining and pellon to 13 3/4" long x 20" wide.
Sew the braid onto the right side of the main fabric, along the shorter side approx. 1 1/2" in from on edge. You can use any type of braid, ric rac etc. Fold the ribbon in half, plac
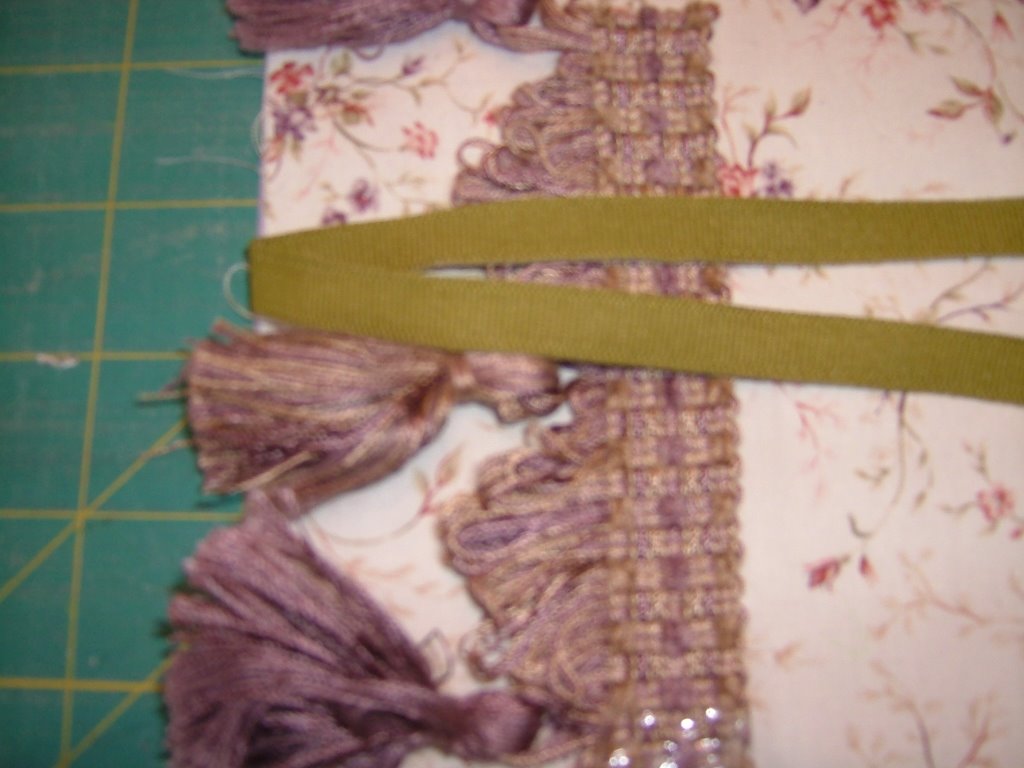 e the folded edge onto the centre of the same side, sew.
Iron the pellon on to the wrong side of the lining fabric, place the lining fabric and main fabric right sides together, pin and sew using 1/4" seam allowance around all 4 sides l
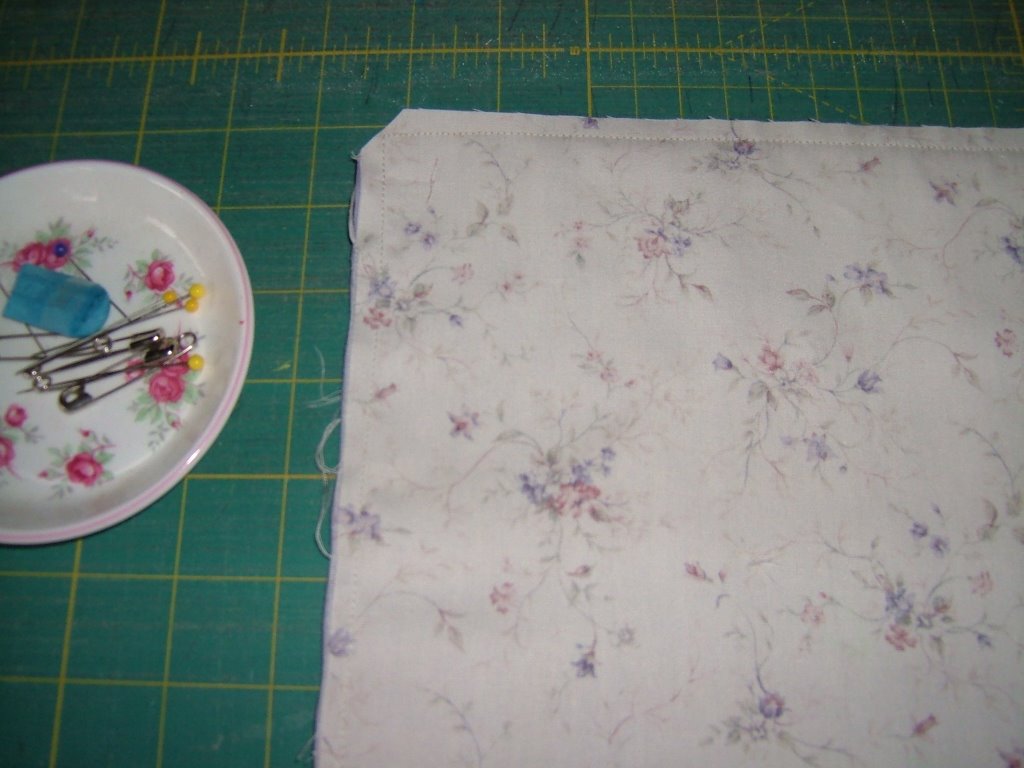 eaving an opening on the opposite side to the braid. Clip across the corners.
Turn through the opening, press well and slip stitch the opening closed.
From now on I will refer to this as the pad.
Quilt the body of the pad as desired, I have machine quilted diagonal lines 2 1/2" apart across the pad. Just lenghten your machine stitch to about 3 for quilting.

Now we are up to using the glue, Cut 2 circles, the same size as the ends of the roll, from the cardboard scraps. Cut pellon the same size and glue onto one side of the card, cut the main or th
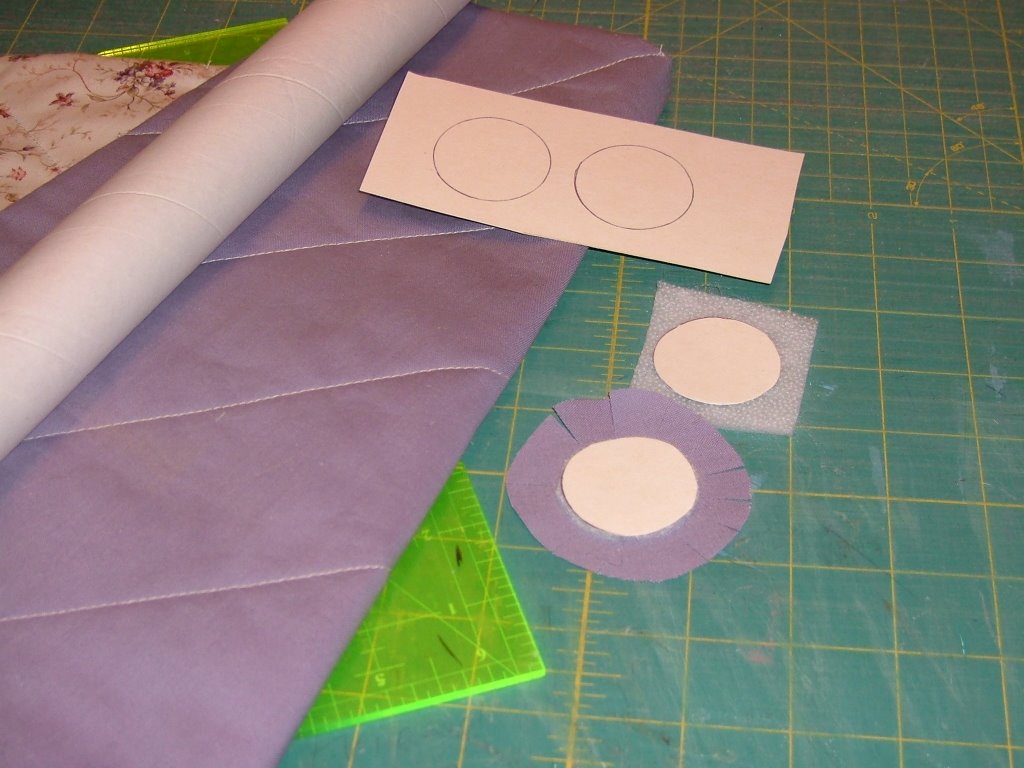 e lining fabric a little larger then the circle and glue the fabric onto the top of the pellon.
Run a row of glue onto the back side of the card and glue excess fabric down.
Run glue around the ends of the roll and glue the circles onto each end.
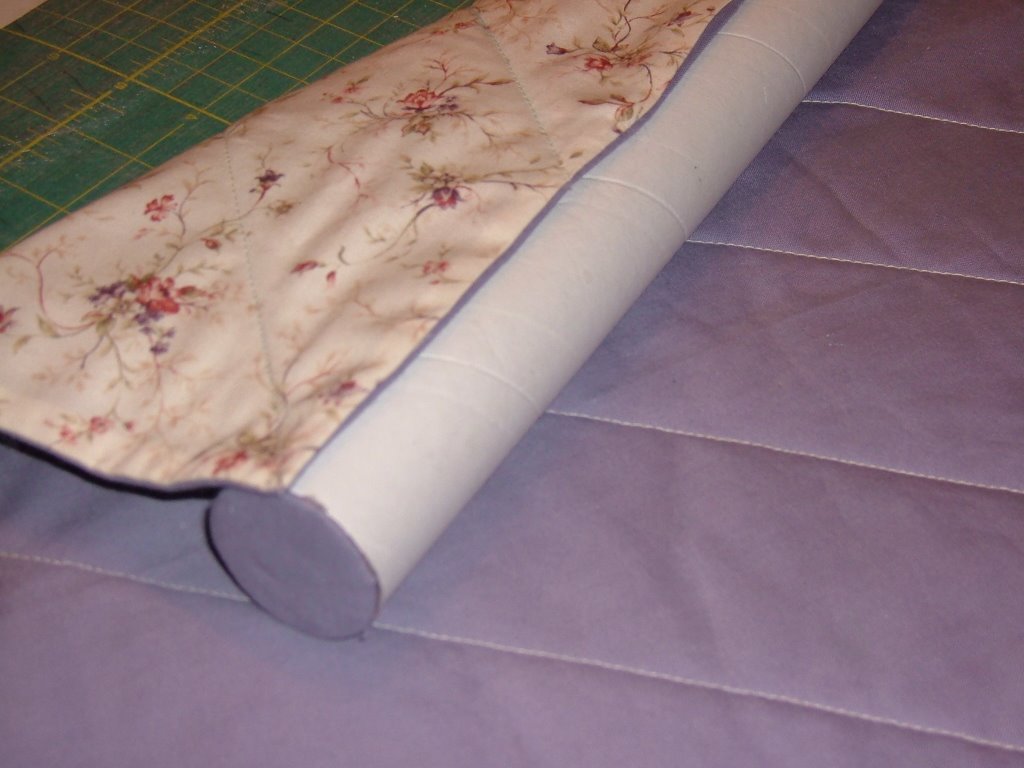 Cover the roll with the pad, lining side against the roll. I have placed a few spots of glue to hold the pad in place.
Using a double thread slip stitch the end of the pad onto the body of the pad, pulling it firmly around the roll.
 Once stitched in place slip stitch the pad to the end circles just to secure the whole thing.
You should now have your stitchery roll finished and ready to use.
Thanks for joining me, the next tutorial will be a new Table Runner design I have been working on and will be post it in a few weeks time.
Have a great day
Kerry


2 comments:
MUchas gracias Kerry, estaba buscando informacon tu metodo me da mas ideas unidos a los de mercedes, kiwi jo, y tessa, ahora creo poder idear mi propio modelo, ya te informare, muchas gracias....
desde venezuela un besos
What a creative use of a cardboard roll. Nice tutorial and great idea.
Post a Comment